May 2024: Feature releases & highlights
Manage VMs in Avassa. Custom Icons.
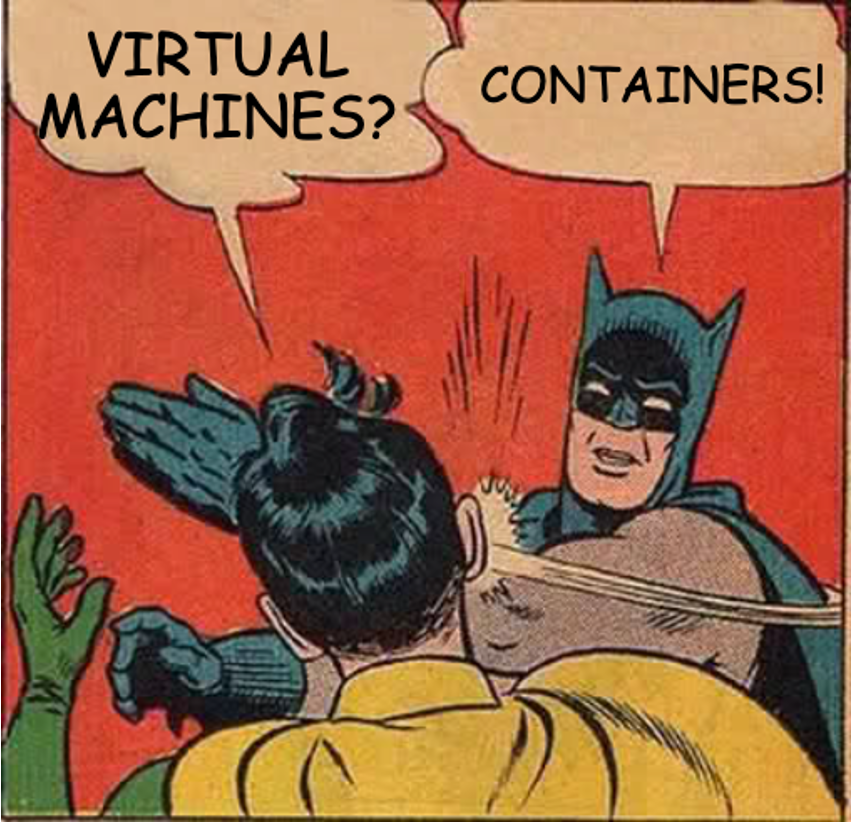
Avassa puts container applications at the forefront. As a developer, you don’t want to deal with overwhelming infrastructure management to get your containers running at the edge. Containers are the future-proof way of packaging and deploying applications. But in some environments, there are legacy applications that are (not yet) containerized. Imagine if you could orchestrate containers and Virtual Machines (VMs) with one single, easy-to-use tool.
Avassa’s latest release introduces a unique feature: the ability to define a container that includes VMs. This means you can now orchestrate containers and Virtual Machines using a single tool, Avassa. The familiar Avassa tools you use for application deployment and monitoring remain unchanged.
In addition, using containers as the launching mechanism has a set of benefits:
- Unified tooling for containers and VMs.
- A standardized mechanism for the composition of images, configuration, and commands.
- Container resource constraints can be used to control VM resources.
How it works
The Avassa VM orchestration functionality utilizes Kernel-based Virtual Machines (KVM) on the edge hosts. KVM is a bare metal hypervisor on Linux that allows a host machine to run multiple isolated virtual machines. It’s part of the Linux kernel and available in all Linux distributions.
(For a more complete tutorial on the VM feature, read our documentation)
Avassa starts edge VMs from within a container, which acts both as a launching vehicle and a carrier of the data needed by the virtual machine. Virtual machines are then run using QEMU and KVM. The virtual machine inherits the resource constraints imposed on the container.
You are used to defining container applications in Avassa using the constructs:
application services containers
To launch a VM on your edge site, you define an application like:
application services vm container-image
The container-image plays a crucial role in launching the VM using Avassa. As mentioned earlier, we use a container image as the launch vehicle for the virtual machine.
You will build a container for your VM based on a base image from Avassa. The Avassa base image is based on an alpine image with the following additions:
- additional necessary OS packages such as bash, qemu-system-x86_64 etc. to be able to serve as both the launch container for the VM, but also controlling the integration with the Avassa Cloud platform.
- launch script,
launch.sh, to prepare and launch the VM. - console script,
console.sh, to get console access to the VM.
You can read more about the Avassa base image in our repository for VM orchestration here.
And now, it is time for you to prepare a container image for your VM. It is a matter of defining a Docker file like the one illustrated below (Ubuntu Jammy example):
The example below omits details for clarity.
FROM registry.gitlab.com/avassa-public/vm-orchestration:base

# VM image
ENV VM_IMAGE=jammy-server-cloudimg-amd64-disk-kvm.img
ADD jammy-server-cloudimg-amd64-disk-kvm.img /
In the simplest case like shown above you just need to add your VM image and build it:
$ docker build -t vmtest .
Now you have an image vmtest that you can orchestrate to all your edges, and monitor it after deployment, not more complicated than that!
At this point, you might ask about distributing the (possibly large) VM image inside the container. That is one option, we provide several options:
- Embed the VM image in the container.
- Let the launch script download it from a URL at the edge.
- Mount the VM from a file system available at the sites.
Now, we can define an Avassa application that is ready to be deployed using the tools you are used to:
name: ubuntu-server-app
services:
  - name: vmtest
    mode: replicated
    replicas: 1
    vm:
      name: ubuntuvm
      container-image: vmtest ## << IMAGE BUILT ABOVE
The Application specification is used to pass configuration for both the launching container and the VM. For example, you can pass cloud init parameters.
The process above can be illustrated in the following way:
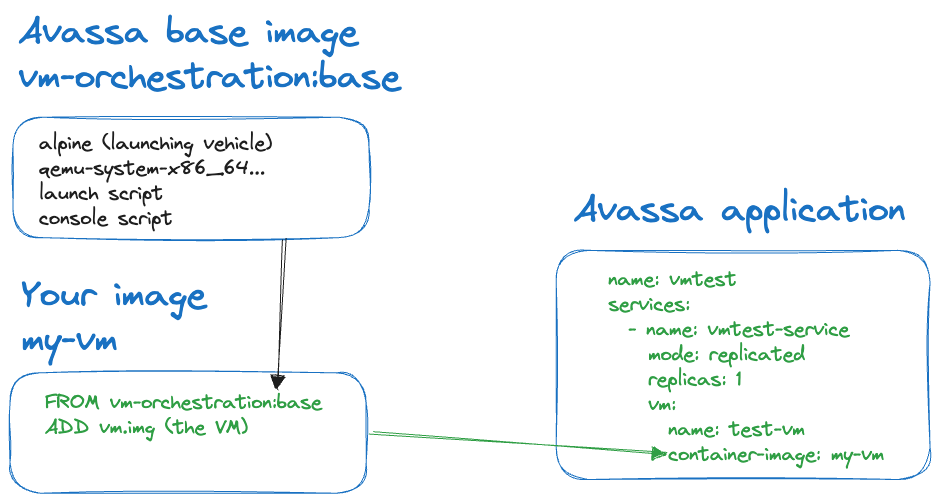
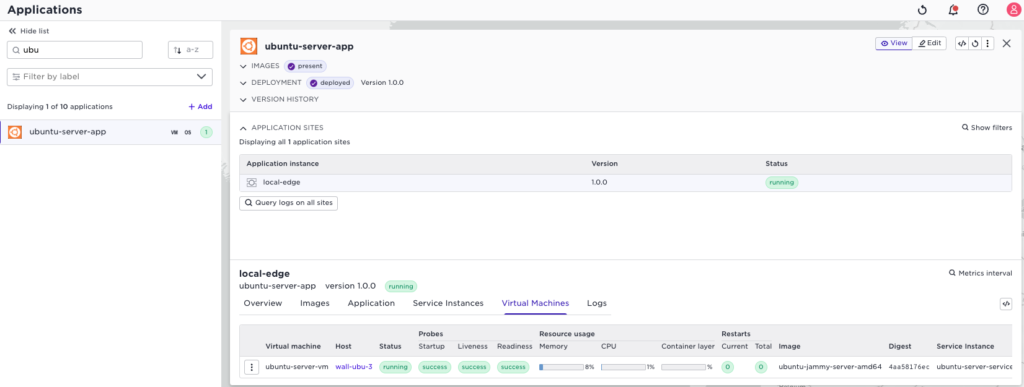
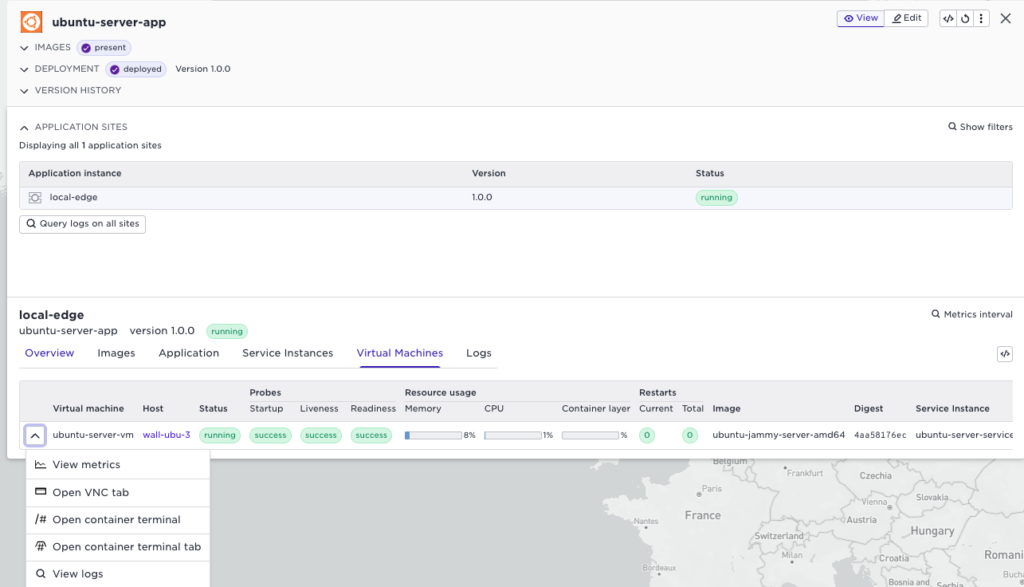
Use the Avassa deployment mechanisms to deploy and start the VMs at the edge sites. The screenshot below shows the Ubuntu VM running at an edge site. You also see the built-in monitoring metrics.
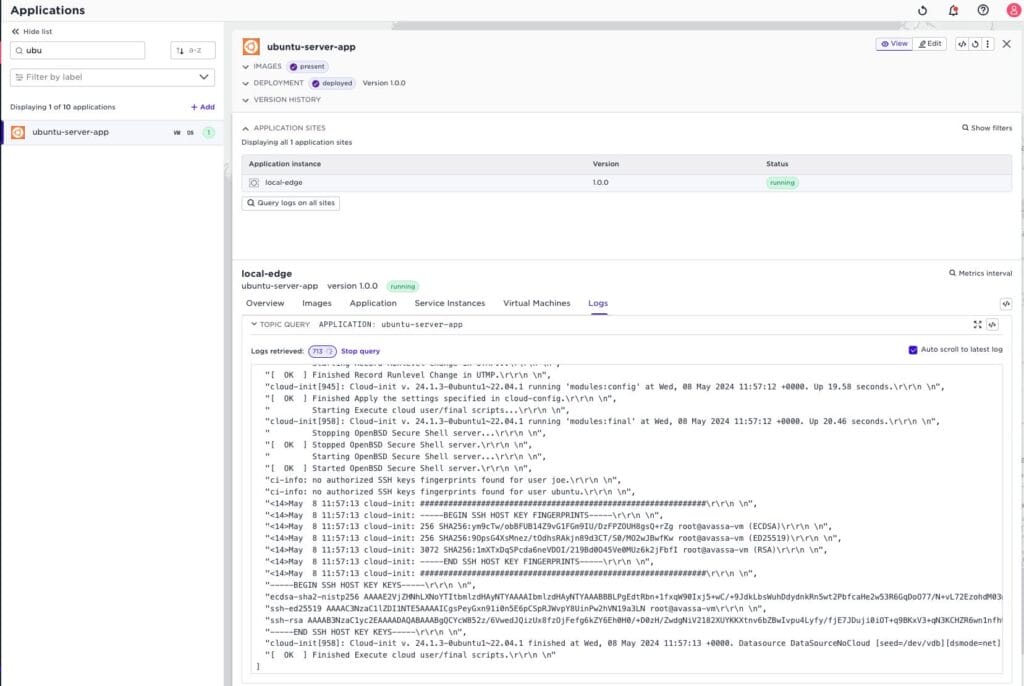
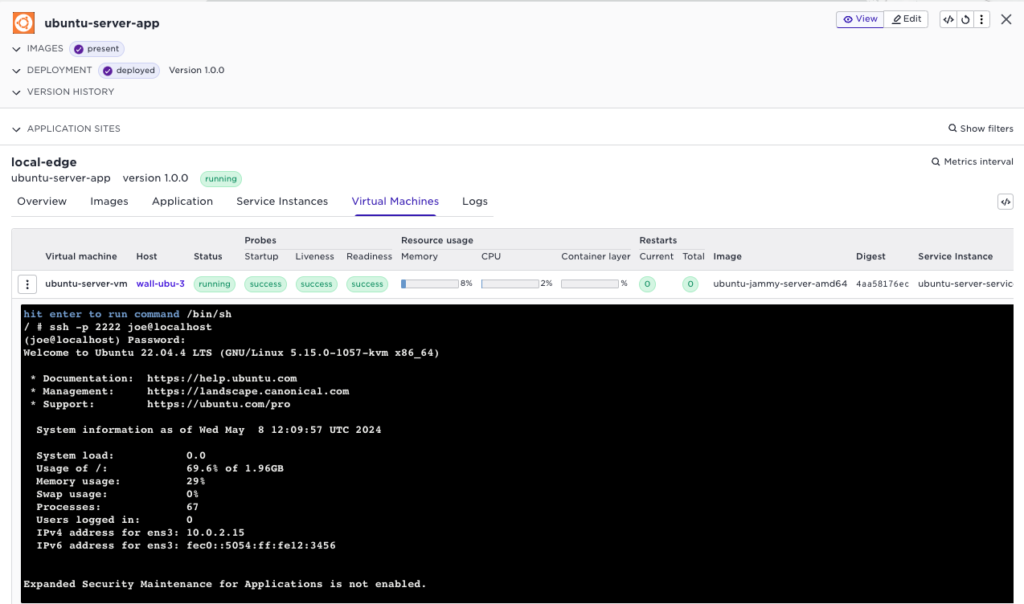
And of course, you can remotely see the VM Logs:
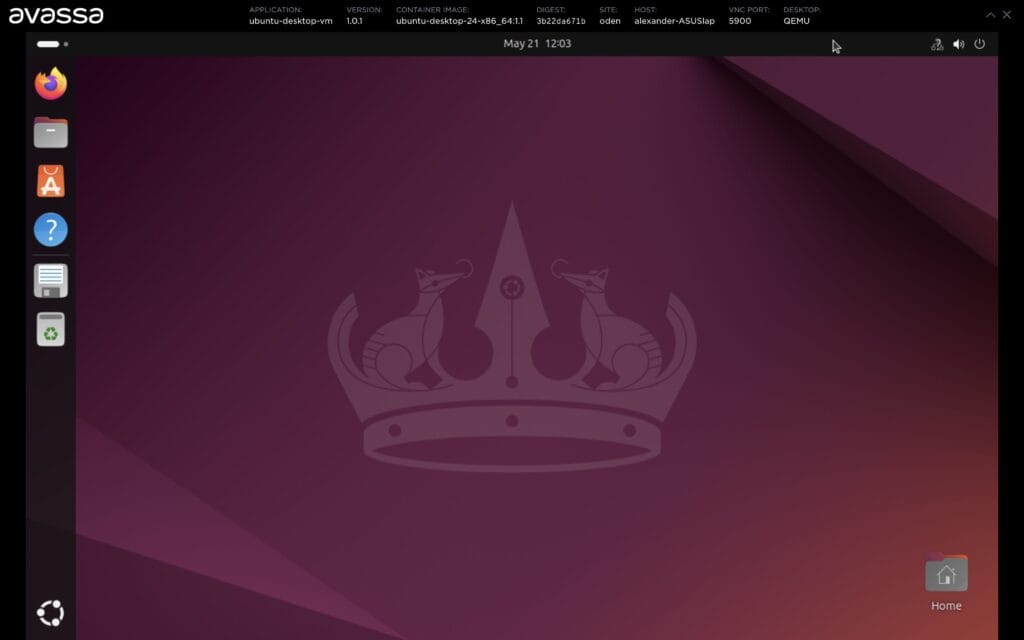
Avassa also enables remote console access and VNC to the VM with a drop-down menu from the selected VM
Remote console:
Remote VNC:
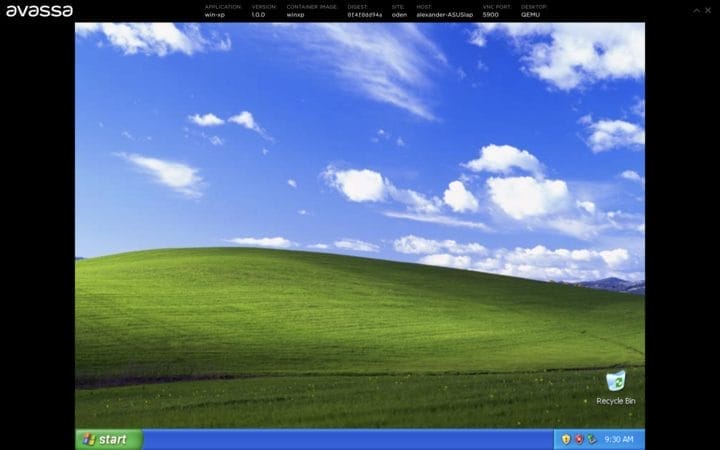
And yes, it can be Windows:
To summarize:
The Avassa VM orchestration feature solves a gap in the edge industry. How can you orchestrate containers and VMs to a large set of edge sites with a single tool? Now you have a single API, single User Interface to monitor Container and VM applications. The Avassa VM solution is also completely open based on Linux hypervisor technology and containers. The solution also provides flexibility and customization options via the open launch scripts provided. No virtualization vendor lock-in.
Puh! That was a heavy feature; here comes a nice little one:
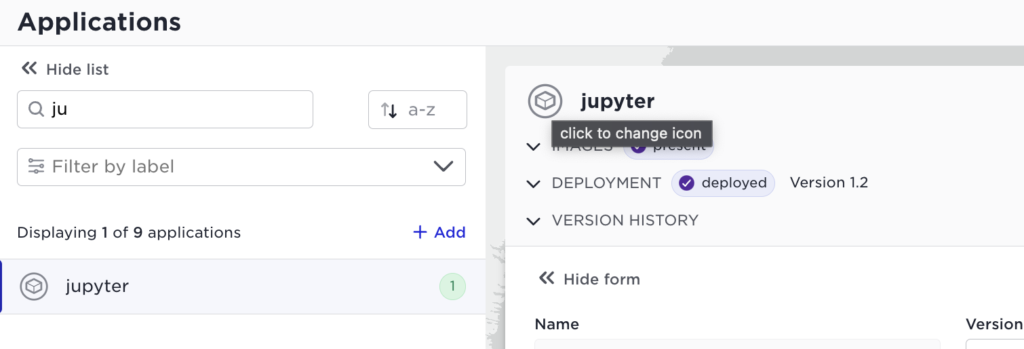
Custom icons
You can now add custom icons to your applications. Select your application in the list and click the default icon:
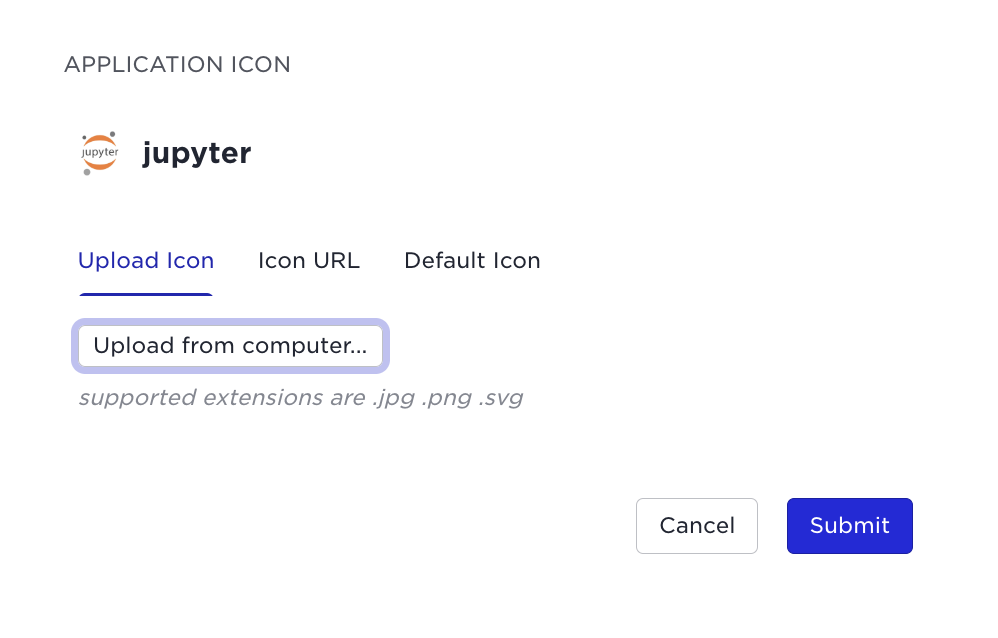
Now, the icon will appear in the application list as well as the application window:

How do you top such a mighty feature release? Just wait for June…