How to set up log export from Avassa to Google
In this blog post, I’ll describe how to setup log export to GCP from the Avassa edge platform.
Offloading logs
While the Avassa platform has a lot of tooling around logs and metrics in our APIs and UI, many of our customers have a hybrid solution with central log and analytics in the cloud. One part of their application runs at the edge and the other part in the cloud, more specifically in this case, Google Cloud. Therefore they want to collect their edge application logs and send those to Stackdriver. That way they have all their application logs in a single place.
Fluent Bit
Fluent Bit is an great project for shipping logs and metrics from one source, the application running in the Avassa system in this case, to a remote location, Google Stackdriver in this example.
Keep reading: MQTT with Intermittent Networks Connections
Google Cloud
To allow Fluent Bit to communicate with Google, we will setup a service account in GCP and store that in an Avassa secrets vault.
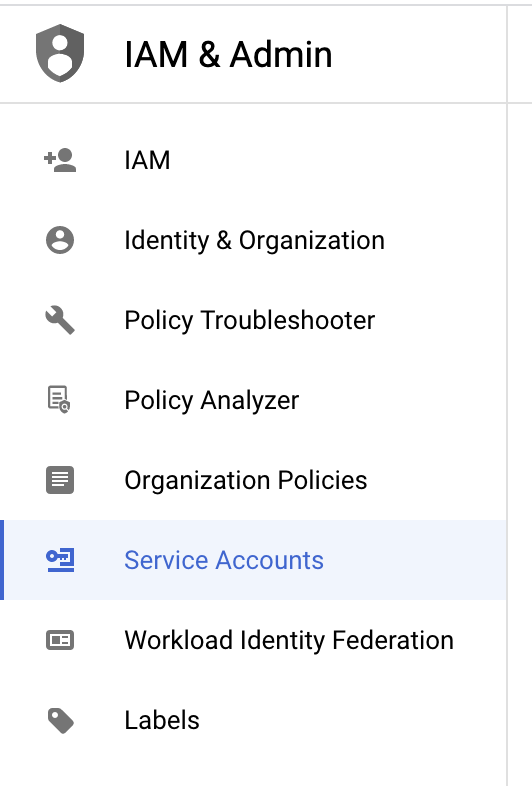
In GCP, go to APIs & Services and click create credentials and select Service Account.
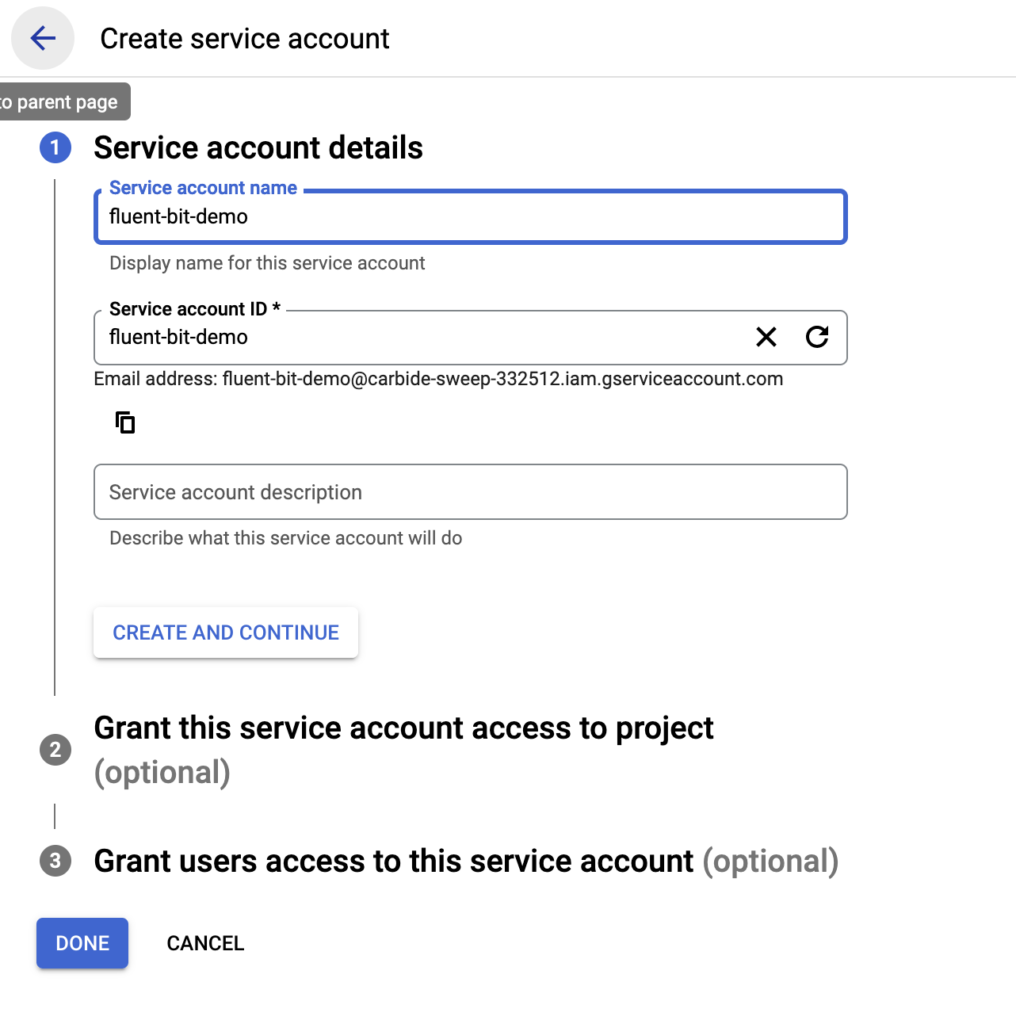
Here click the service account you just created.
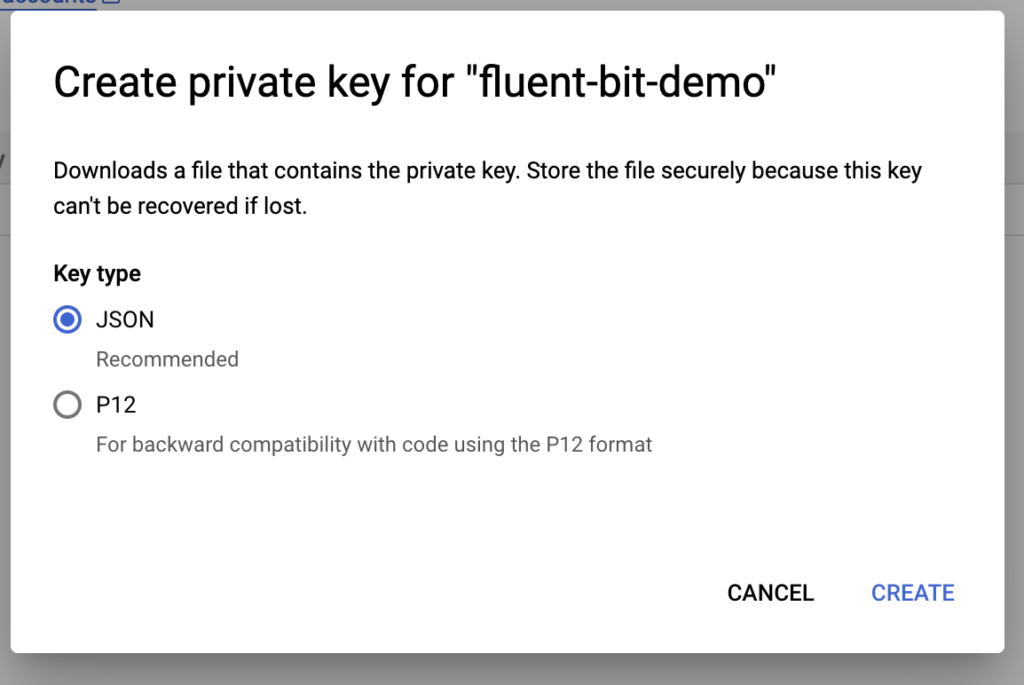
Next we will create a key to download and store in an Avassa vault.
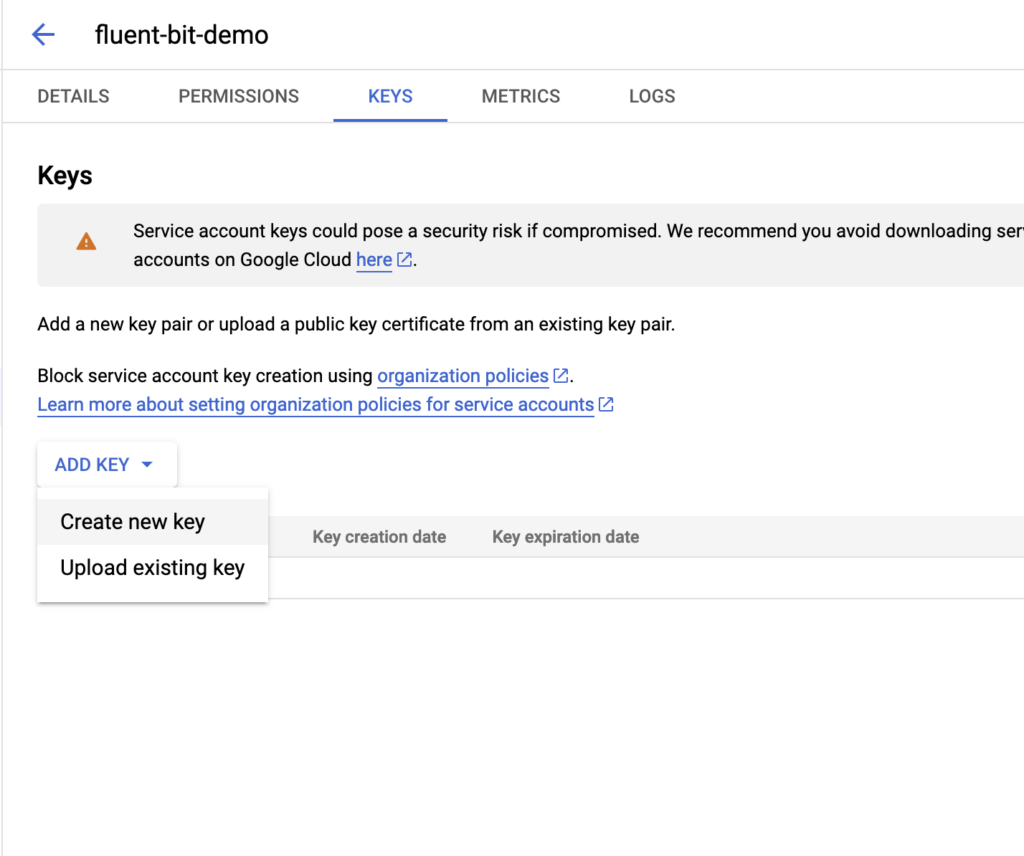
Select JSON.
This will download a file to your computer, in my case it’s called
carbide-sweep-332512-d3ac646889f2.json
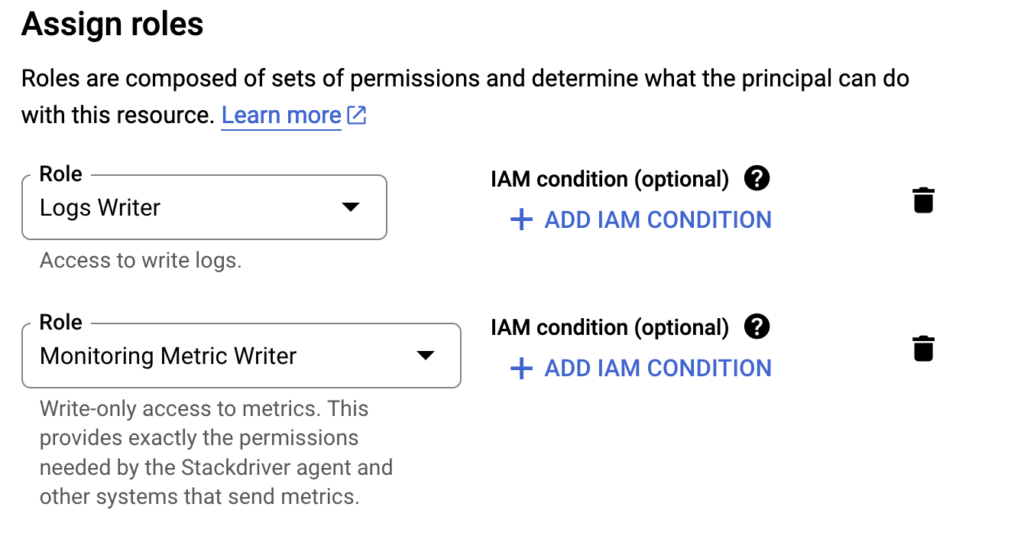
Finally, let’s set the correct permissions for this service account, per https://docs.fluentbit.io/manual/pipeline/outputs/stackdriver.
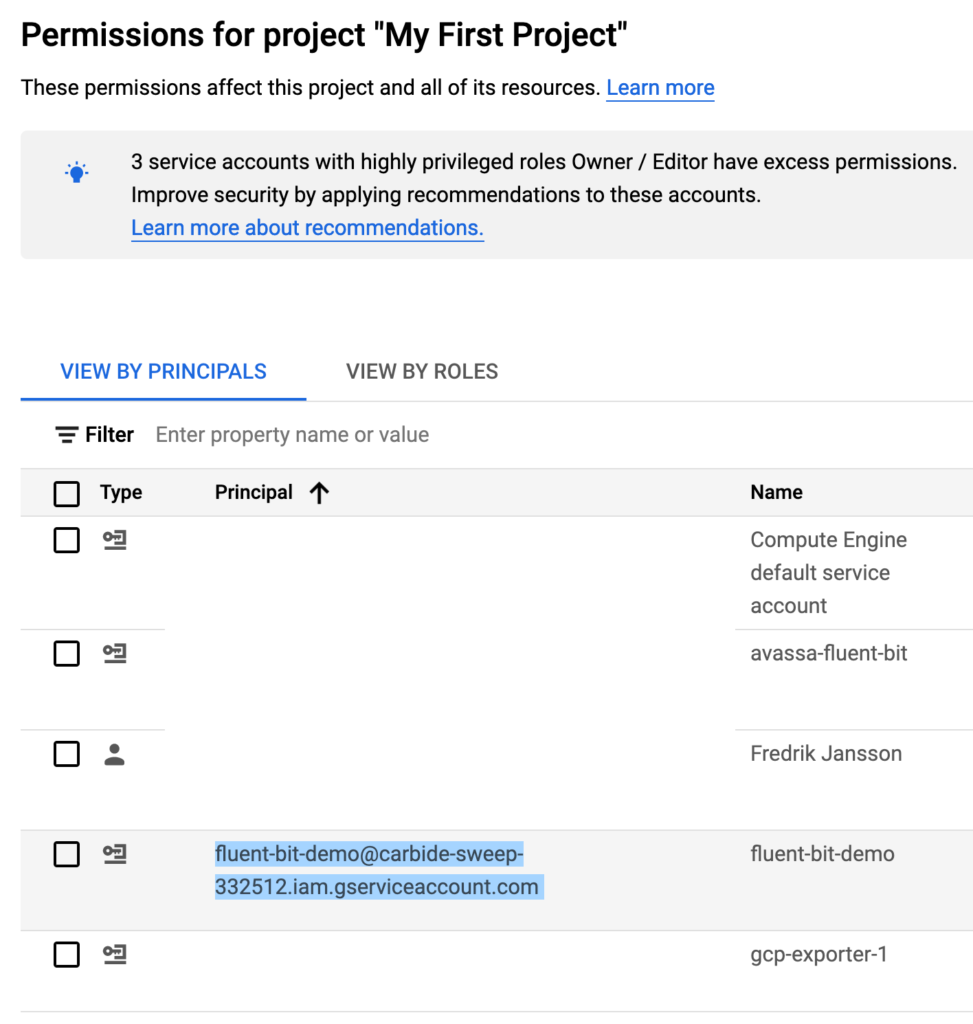
Copy the full “email address” for the service account and go to IAM and click “Grant Access”.
Assign roles:
Next we follow the instructions here: https://gitlab.com/avassa-public/fluent-bit/-/blob/main/examples/log-exporter-stackdriver.app.yml
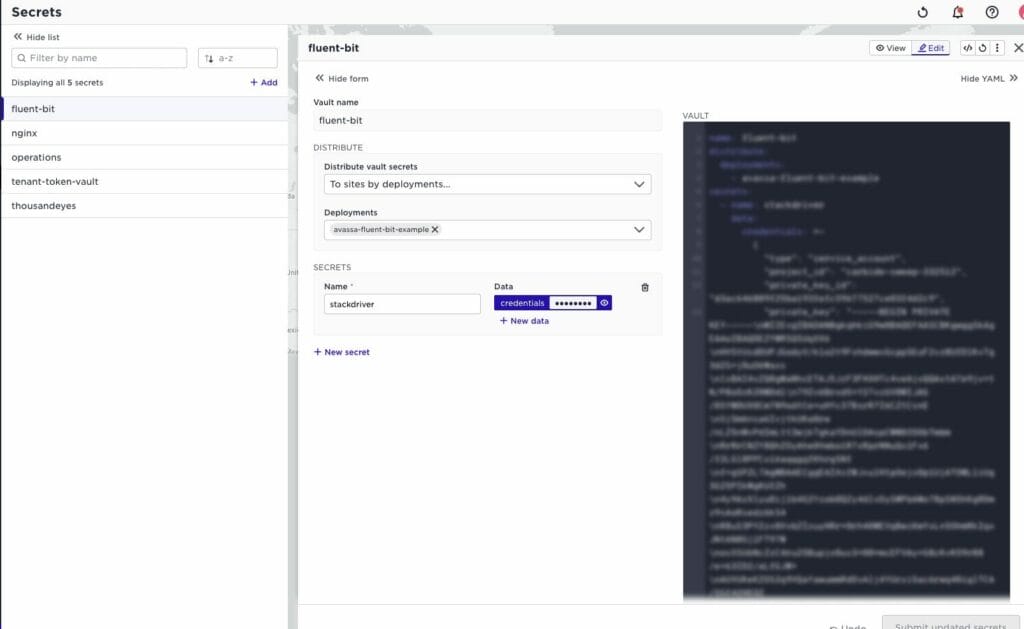
This example assumes a secret called stackdriver in a vault called fluent-bit.
This will create a vault that is distributed with a deployment we will call avassa-fluent-bit-example. This makes sure that the secrets are available where needed but nowhere else.
In the credentials key, paste in the contents of your fluent-bit-demo private keyfile, from above.
Next create a policy called fluent-bit.
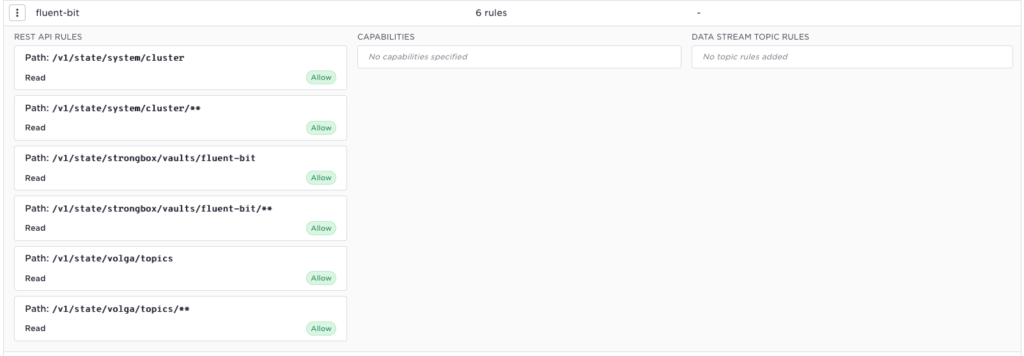
Or using command line:
supctl create policy policies <<EOF
name: fluent-bit
rest-api:
  rules:
    - path: /v1/state/system/cluster
      operations:
        read: allow
    - path: /v1/state/system/cluster/**
      operations:
        read: allow
    - path: /v1/state/strongbox/vaults/fluent-bit
      operations:
        read: allow
    - path: /v1/state/strongbox/vaults/fluent-bit/**
      operations:
        read: allow
    - path: /v1/state/volga/topics
      operations:
        read: allow
    - path: /v1/state/volga/topics/**
      operations:
        read: allow
EOF
This policy allows the Fluent Bit exporter to read information about the site/cluser, access the fluent-bit vault and finally read and list topic.
Next create an approle called fluent-bit , an application role ties an application to one or more policies and approles are the recommended way for an application to authenticate and be authorized. See https://avassa-api.redoc.ly/tag/Approles.
At the time of writing this post, this can only be done from the command line
supctl create strongbox authentication approles <<EOF
name: fluent-bit
weak-secret-id: true
secret-id-ttl: 3600s
token-policies:
  - fluent-bit
EOF
Finally, we will deploy an example application:
#
# See <https://docs.fluentbit.io/manual/pipeline/outputs/stackdriver>
#
#
name: avassa-fluent-bit-example
services:
  - name: log-container
    containers:
      - name: log-container
        image: registry-1.docker.io/alpine
        cmd:
          - sh
          - "-c"
          - 'while true; do echo "$(date) hello"; sleep 1; done'
    mode: replicated
    replicas: 1

  # Keep the log exporter in a separate service, with one replica
  - name: log-exporter
    mode: replicated
    replicas: 1

    containers:
      - name: fluent-bit
        # You may want to consider locking this to a particual version in production
        image: registry.gitlab.com/avassa-public/fluent-bit/fluent-bit:latest
        approle: fluent-bit
        env:
          APPROLE_SECRET_ID: "${SYS_APPROLE_SECRET_ID}"
        mounts:
          - volume-name: cfg
            files:
              - name: fluent-bit.conf
                mount-path: /fluent-bit/etc/fluent-bit.conf
          - volume-name: credentials
            files:
              - name: credentials
                mount-path: /credentials.json

    # Allow the output plugin to connect
    network:
      outbound-access:
        allow-all: true
    volumes:
      # This assumes a service account JSON file has been added to a vault named
      # "fluent-bit" with a secret called "stackdriver".
      # The stackdriver secret should contain a key "credentials" where the value
      # is the Google service account json file. This can be done like this:
      # $supctl replace strongbox vaults fluent-bit secrets stackdriver <<EOF
      # name: stackdriver
      # allow-image-access: ["*"]
      # base64-data:
      #   credentials: "$(base64 -w0 < sa-file.json)"
      # EOF

      - name: credentials
        vault-secret:
          vault: fluent-bit
          secret: stackdriver
      - name: cfg
        config-map:
          items:
            - name: fluent-bit.conf
              data: |
                [SERVICE]
                    flush        5
                    log_level    info

                    http_server  Off
                    http_listen  0.0.0.0
                    http_port    2020

                [INPUT]
                    name avassa_logs
                    tag  avassa.logs

                    # This application
                    application_re avassa-fluent-bit-example
                    # Get logs from the log-container container
                    container_re log-container

                    # For debugging purposes
                    # [OUTPUT]
                    #     name stdout
                    #     match *

                [OUTPUT]
                    name stackdriver
                    # Path to the credentials.json file mounted from Strongbox
                    google_service_credentials /credentials.json
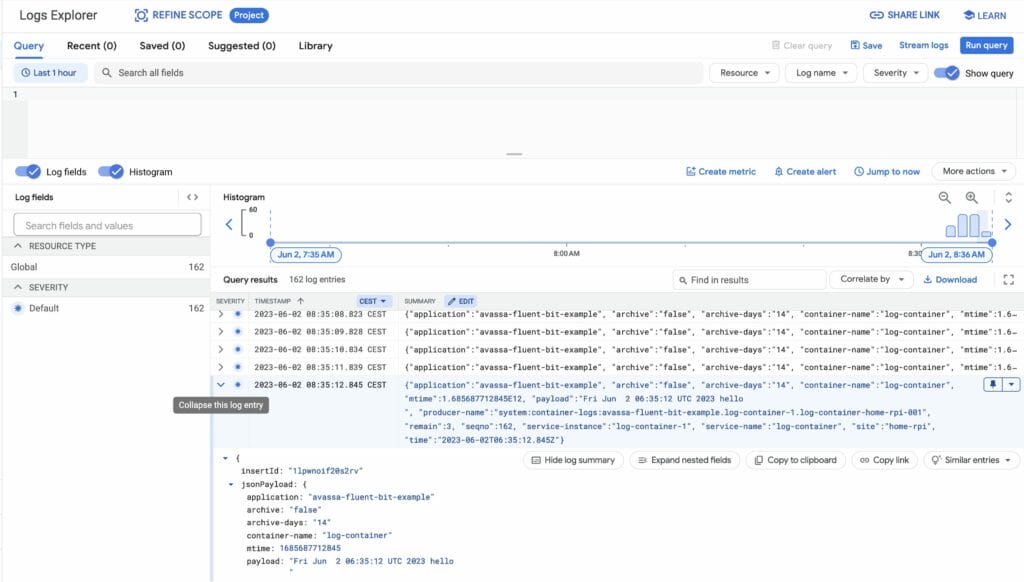
After successfully deploying the application, you should be able to go to Stackdriver in Google Cloud and see the logs.
Conclusion
So by simply deploying a Fluent Bit container together with your application, you can easily ship logs to Stackdriver. In the above example we ship logs from a single application, but by changing the application_re and container_re regular expressions, you can use the same exporter for multiple applications.
See https://fluentbit.io/ for more information on Fluent Bit.
See https://gitlab.com/avassa-public/fluent-bit/ for Fluent Bit with Avassa